
When you snap photos in a studio you may have the luxury of perfectly positioning all the objects and elements in the frame so that the composition is just right.
However outside of a studio that isn’t likely to be the case, and more often than not there’ll be objects that you would like to remove from your photos.
The good news is that it is certainly possible to remove any unwanted objects from your photos with a bit of editing. The bad news however, is that it is easier said than done.
If you want to remove an object from a photo you’ll need to be able to select it perfectly and remove it while ensuring no traces or imperfections are left behind.
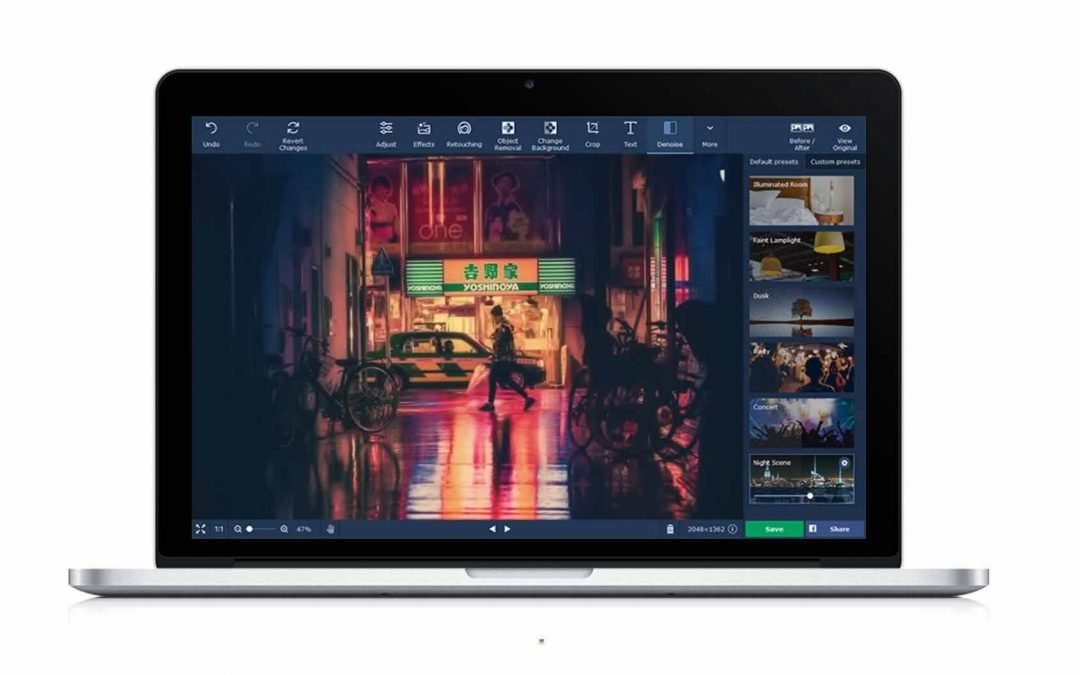
While various editors have different ways to remove objects from photos, one of the easiest options is to use Movavi Photo Editor to do so.
How to Remove an Object from a Photo
If you want to remove object from photo in Movavi Photo Editor all you need to do is follow the steps listed below:
Open up Movavi Photo Editor and click on the ‘Browse for Images’ button in the working area to select the photo that you want to edit.
It is possible to add photos by dragging and dropping them into the working area (as indicated in the interface) if you prefer.

To start removing an object, you should open the ‘Object Removal’ tab in the upper part of Movavi Photo Editor’s interface.
In the sidebar that appears you can then use the ‘Selection Brush’ tool to ‘paint’ the object that you want to remove – while controlling the size of the brush using the slider right below its icon.
If you feel that the ‘Selection Brush’ isn’t precise enough, you can try the ‘Magic Wand’ or ‘Lasso’ tools.
Additionally, the ‘Selection Eraser’ will let you remove any unwanted parts of the selection or the ‘Reset Selection’ will remove all marks and let you start fresh.

Once the object you want to remove has been selected perfectly, click on the ‘Start Erasing’ button to remove it.
Despite your best efforts some imperfections may remain, in which case you can use the ‘Stamp’ tool to clear them up by copying and ‘stamping’ a similar part of the photo onto the area that has imperfections.

Overall it should take long to select and remove objects then cover up any imperfections using Movavi Photo Editor. Its intuitive interface will place all the features that you need within easy reach, and you should have no trouble finding them.
Opportunities for Further Improvements
Make no mistake, removing unwanted objects is far from the only thing that can be done using Movavi Photo Editor – and there are lots of opportunities to make further improvements to your photos with its features.
As a starting point you may want adjust the colors to enhance the quality of photos, fix any issues that mar it, or touch up certain areas.
After that you can look into improving it in other ways, such as by cropping the frame, replacing the background, adding creative captions, applying artistic filters, and more.
All the features in Movavi Photo Editor have the same intuitive approach, that will make applying them a piece of cake.
At the end of the day you should now know everything that you need to remove any stray objects from your photos and ensure their composition looks as perfect as possible.
If you spend a few minutes exploring the other features in Movavi Photo Editor you should be able to do far more than that as well, and by the time you’re done editing your photo it should truly look ‘picture perfect’.


