

Macro Shooting
Macro shooting is really extreme close up of subjects such as flowers and objects. However, usually you need a proper Macro Lens that gives you 1:1 magnification (which means the subject is projected life size on the camera sensor). Non-Macro lens can only focus certain distance from the subject and is often indicated by the number next to the flower icon on lens. For example the kit lens EF-S 18-55mm has a macro focusing distance 0.28m/0.9ft. Other lens such as EF 50mm 1.8 has a macro focusing distance of 0.45m/1.5ft.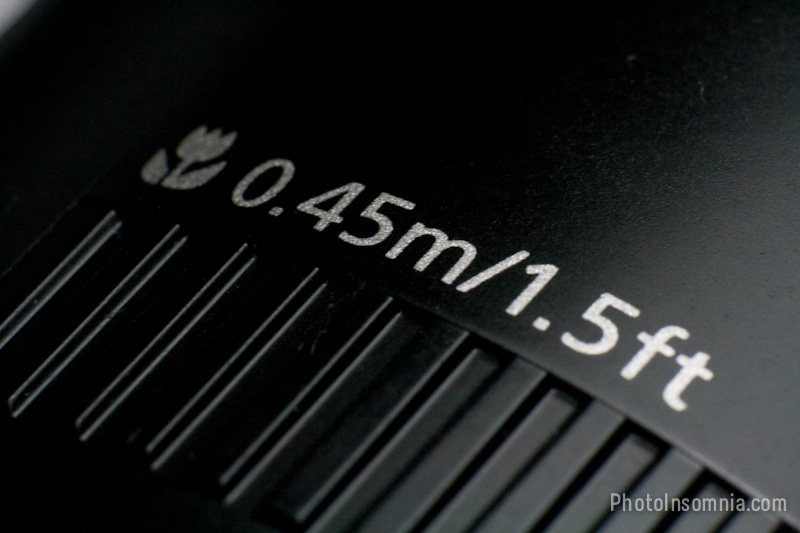
To shoot Macro photography using non-macro lens is not as difficult as you may perceive, you need what is know as a Reverse Mount Ring to get started.
Reverse Mount Ring
As the name implies it allow you to reverse mount your lens on the camera. Your lens when mounted normally allow you to focus on distance objects which means bring distant objects close to the camera. When the same lens is mounted in reverse it allows you to bring the closer objects closer to the camera. That is it can focus on the close objects. Now you may think, wow that’s it. Not really, the technique works but requires a bit of practice and patience. Apart from the obvious, the Reverse Mount ring.

Reverse mount ring – showing Camera mount side

Reverse mount ring – showing Lens screw-in side
Get a Reverse Mount Ring
To buy a reverse mount ring, you can go to your favourite Camera store or check out eBay or Amazon, you will find plenty of listing. Before you rush out to grab the reverse mount ring you need to note, diameter which is the filter size of your lens. If you have several lens you should note the various filter sizes and if you intend to try all the lens you will need appropriate sized reverse mount rings.
The reverse mount screws onto the lens where you normally screw in your filter. The other side of the reverse mount has camera mount shape so it can be mounted on your camera. But as the front of your camera doesn’t have the electronic mount connectors, you camera can no longer focus automatically. Hence we need to manually focus.
Mounting your Lens
So you now have the Reverse Mount ring, to mount it you firstly screw it onto the front of the lens and make sure its secured nicely. Before your lens is remove you need to dial in a f-stop of choice, we normally use a f-11 as using a lower f-stop will increase further the depth of field which when shooting macro will mean that only a tiny portion of your photo is in focus. So dial in whatever f-stop you want to then press the Depth of Field button on your camera (this is normally located below the Lens release button on Canon EOS). While holding the Depth of field button, press the lens release and remove the lens while both buttons are pressed.
Now you may be wondering why we need to do this. Pressing the depth of field button will actually change the lens aperture to what you set on your camera, otherwise is doesn’t really change until you press the Shutter release. So which the aperture closed to the size specified we remove the lens. This locks in the f-stop (eg f11) on the lens.
Now you can mount the lens reversely with the Reverse mount ring attached to the body of the camera. Until you need to shoot, put the lens’s rear cap to avoid any dust or particles from getting in until you are ready to shoot.

Canon EOS with Reverse Mount 50mm
Shooting
Shooting Macros works well when the subject is stationery, especially which this method because we need to get really close to to be able to focus. So you need to have adequate amount of light which will allow you to hand hold the camera and shoot at a speed (1/60 or higher) to avoid any blur or you can use a Tripod to get that sharp image.
If you used an aperture of f11 or smaller then you are not letting much light in through the small rear opening of your lens which now the front of the lens.

Reverse Mounted Lens
Setup your tripod and use a shutter release cable (or your camera’s built in timer). Move the lens relatively close (we are talking centimetres) to the subject. Move the lens zoom (if it has one) and lens ring to achieve focus on your subject. This is where you need a bit of practice as moving only one of these rings won’t give you focus it’s often a combination of both that will let you focus on your subject.

Ready to Shoot with Reverse mount lens
Sample Results

The Lens Cap
Up Close with your lens

Command?

Options!

Focus on $
Conclusion
This technique works well when shooting subjects that are still and can be controlled. You won’t be able to shoot live butterflies, insects etc very easily, it’s not impossible but just quite hard. For such applications you are better off buying proper Macro Lens (make sure it has 1:1 marked). But this technique works well indoors and shooting still subjects such as jewellery, flowers, coins, hardware and tech gadgets (usb connector, cpu, memory card).


